
WiFi
WiFi Shader
你将学到什么
- Scene / Camera / Renderer 渲染管线
- 相机交互控制器
- onBeforeCompile 修改内置材质 shader
- 粒子 / 点云 / 实例化渲染
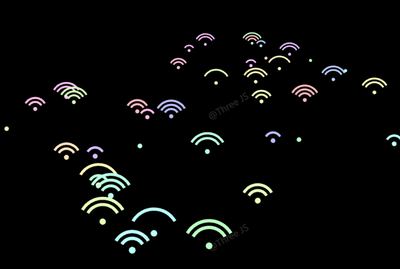
效果说明
Three.js WebGL 场景,以自定义 shader 呈现核心视觉效果,技术点:顶点着色器、uniform 驱动、BufferGeometry。打开在线案例可查看最终画面。
核心概念
- Scene 容纳对象,Camera 定义视点,WebGLRenderer 输出 canvas。
- OrbitControls 轨道旋转缩放;开启阻尼时每帧
controls.update()。 - 替换
#include <begin_vertex>等 chunk 注入特效,适合 PBR 材质叠加大屏效果。 - 大量点用 BufferGeometry + Points 或 InstancedMesh 合批,避免逐 Entity 创建。
实现步骤
- 初始化 Viewer 或 Scene / Camera / Renderer
- 创建 OrbitControls 并处理 resize
- material.onBeforeCompile 注入 GLSL 与 uniform
- 构建几何 attribute 或 instanceMatrix 并 add 到 scene
代码要点
js
const gs = offsets.map((offset, idx) => {
			const g = new THREE.PlaneGeometry(1, 0.125, segs, 1).translate(0, offset, 0);
			const count = g.attributes.position.count;
			const ts = Math.random() * 2;
			g.setAttribute("batchIndex", new THREE.Float32BufferAttribute(new Array(count).fill(idx), 1));
			return g;
		});
		const g = mergeGeometries(gs);
		g.setAttribute(

			const ts = Math.random() * 2;
			g.setAttribute("batchIndex", new THREE.Float32BufferAttribute(new Array(count).fill(idx), 1));
			return g;
		});
		const g = mergeGeometries(gs);
		g.setAttribute(
			"timeShift",
			new THREE.InstancedBufferAttribute(
new Float32Array(Array.from({ length: amount }, () => Math.random() * 2)),完整源码:GitHub
小结
着色器 · Three.js · 85/89